 English
 简体中文
简体中文
-
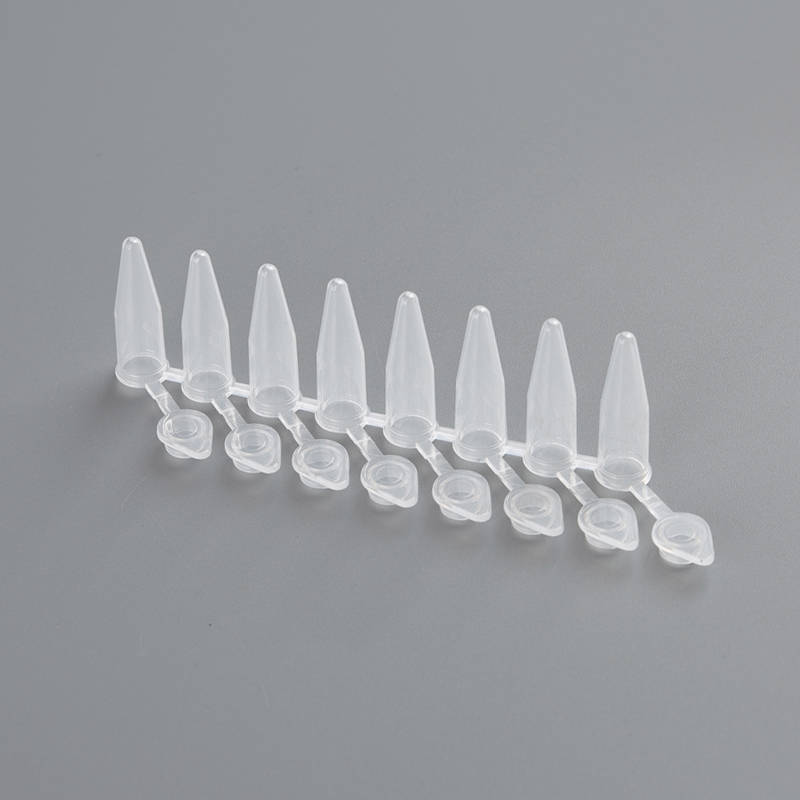
0.2ml PCR Octet Tubes
-
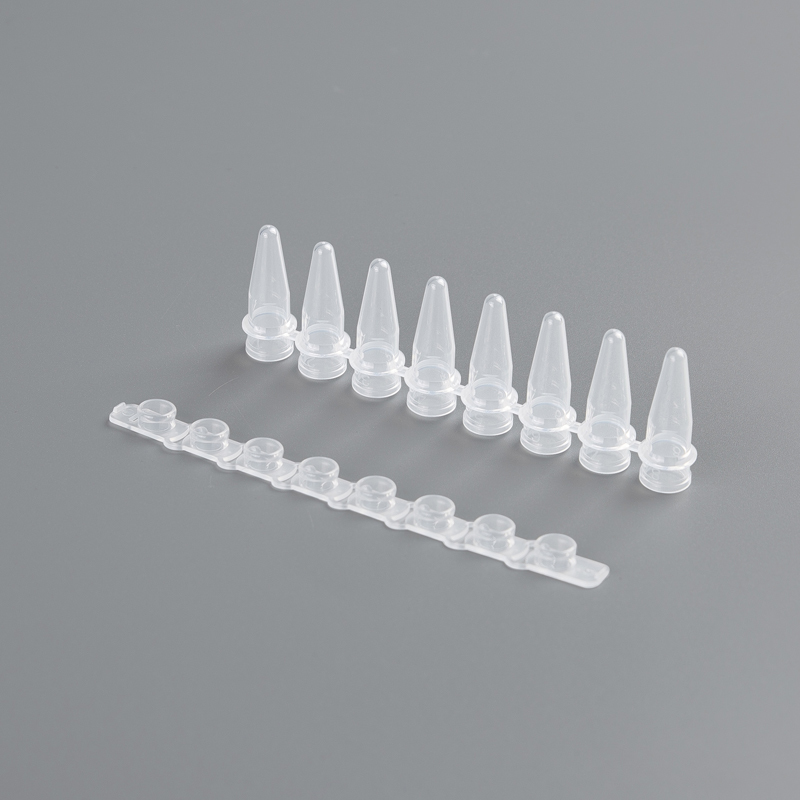
0.2ml PCR Octet Tubes - With Caps
-
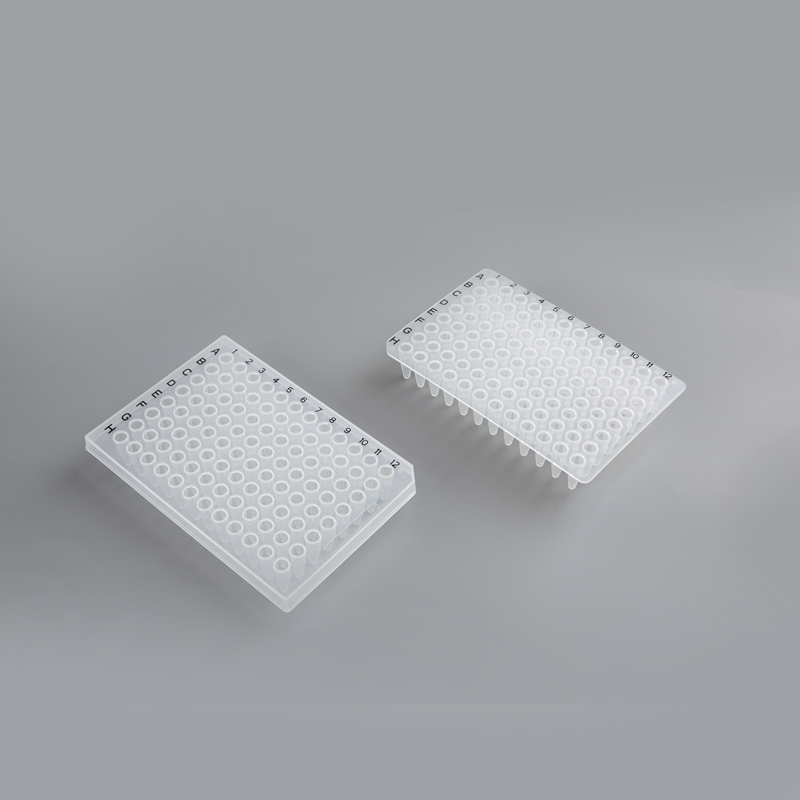
96-Well Semi-Skirted & Non-Skirted PCR Plates
-
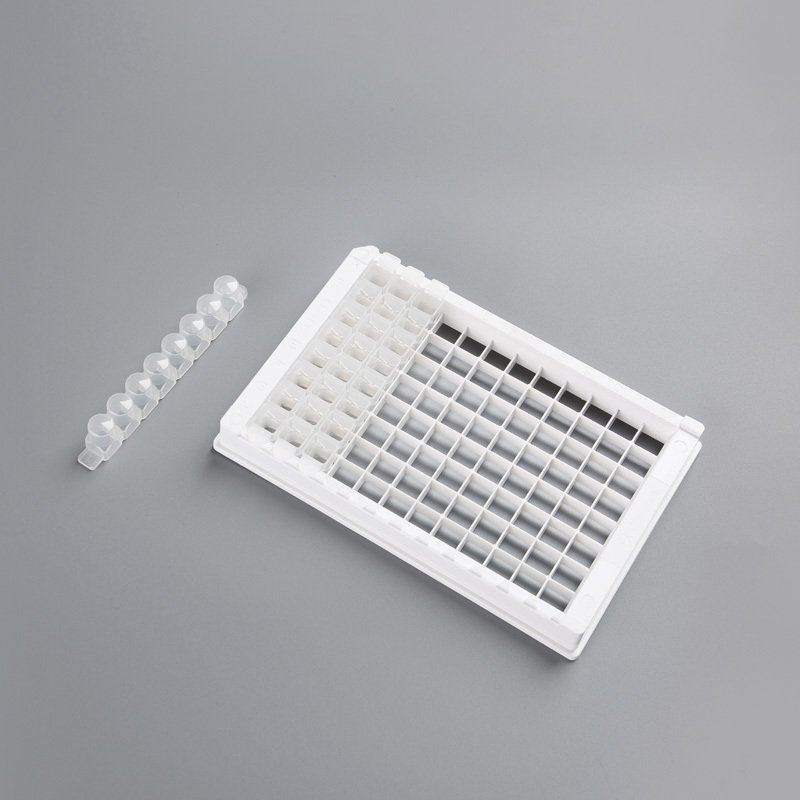
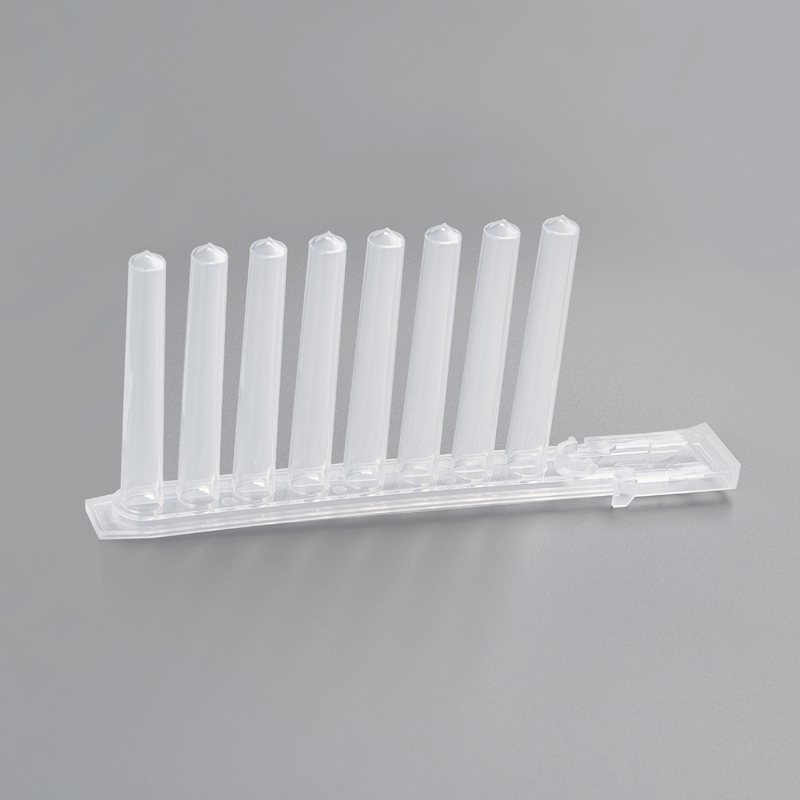
8-Well Enzyme Strips & Plates
-
96 Magnetic Bar Sleeve
-
8-Link Magnetic Bar Set
-
.jpg?imageView2/2/format/jp2/q/100)
96 Round Bottom Deep Well Plates
-
-1.jpg?imageView2/2/format/jp2/q/100)
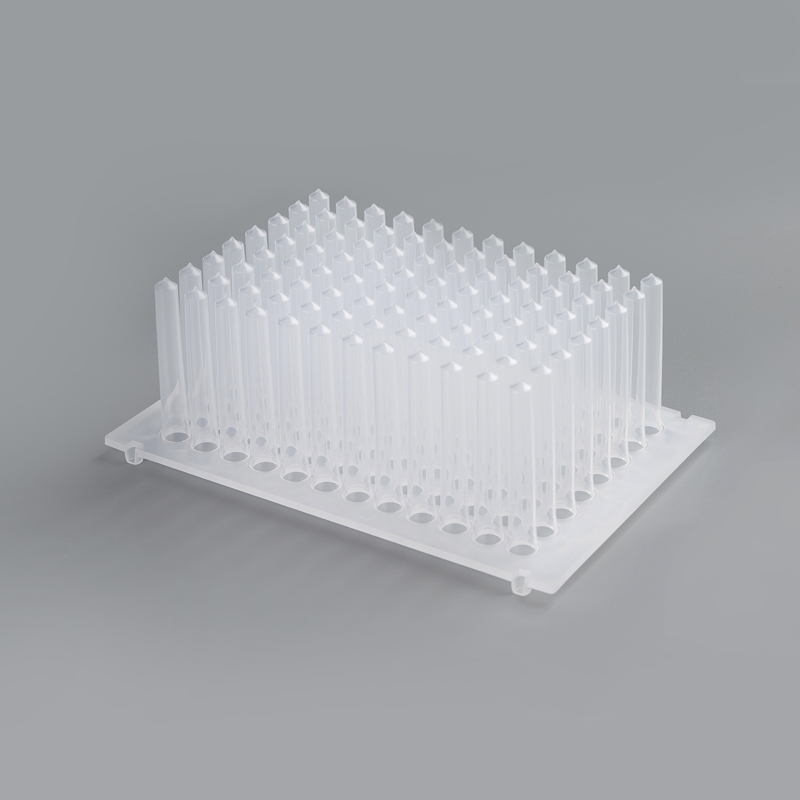
96 Cone Bottom Deep Bore Plates
-
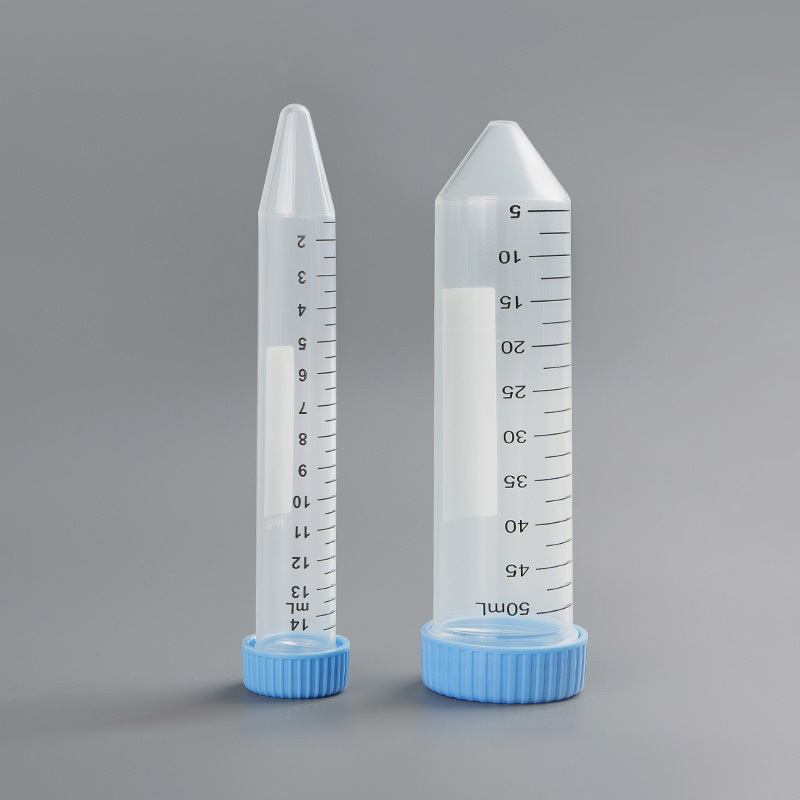
14ml 50ml Centrifuge Tubes
-
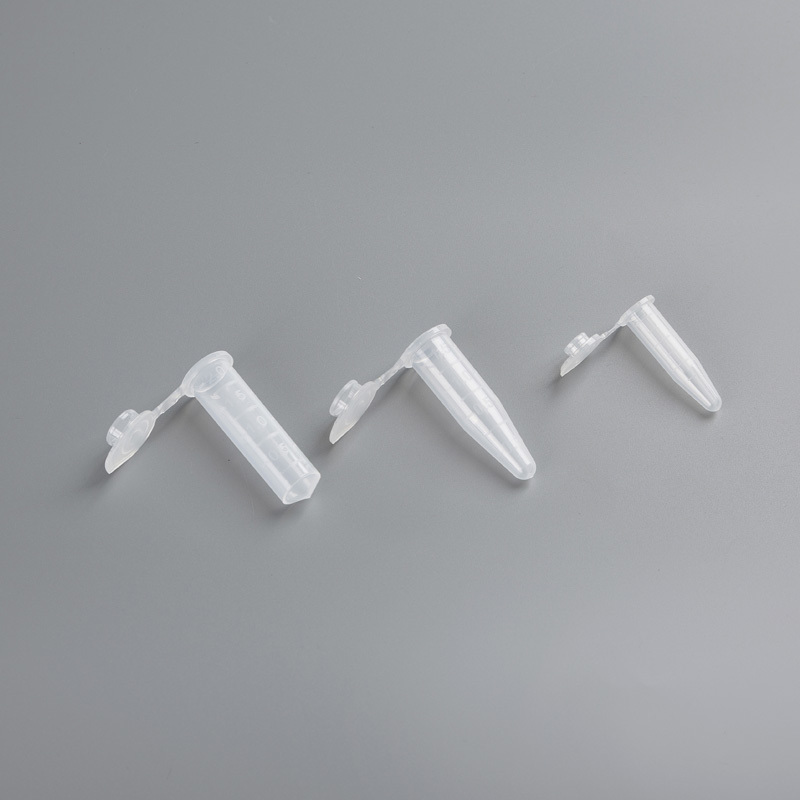
2ml 1.5ml 0.6ml Microcentrifuge Tubes


Griping method: ELISA operation procedure
Posted by Admin | 27 Jan
Before the experiment, all reagents and samples should be balanced to room temperature; after remelting, samples should be centrifuged again and take supernatant for testing; for reagents or sample preparation, mix and avoid foaming; calibration and samples are recommended for duplicate testing.
1. Add ple: add the standard working solution to the first two wells in turn, and add two holes for each concentration of working solution, 100 μ L of each well. Samples to be tested are added to other wells, 100 μ L per well (for sample concentration above the test range, sample diluted with standard & sample dilutions). The microplate was film-coated and incubated at 37℃ for 90 min. Tip: When adding the sample to the bottom of the microplate, try not to touch the hole wall, gently shake and mix, to avoid generating bubbles. The additional time should be controlled within 10 minutes.
2. Biotinylated antibody/antigen: discard the liquid, and shake dry, without washing.100 μ L of biotinylated antibody/antigen working solution was immediately added to each well, mixed, microplate plus film-coated, and incubated at 37℃ for 1 hour.
3. Washing: shake the liquid in the hole, add 350 μ L of washing liquid to each well, soak for 1-2 minutes, suck off or shake off the liquid in the microplate, and pat dry on the thick absorbent paper. Repeat this wash plate step 3 times. Tip: The washing machine can be used here and in other washing steps. Each step of washing is essential to the experiment.
4. HRP enzyme conjugate: 100 μ L of enzyme conjugate working solution per well, mixed, coated with film, and incubated at 37℃ for 30 minutes.
5. Washing: discard the liquid in the well, and wash the plate 5 times in the same way as step 3.
6. Substrate: add 90 μ L of substrate solution (TMB) to each well, mix well, add film coating, and incubate at 37℃ for about 15 minutes. Note: The incubation time should be shortened or extended according to the actual color development situation, but not over 30 minutes. It can be terminated when a clear gradient appears in the standard hole.
7. Termination: Add 50 μ L of termination solution to each well to terminate the reaction. Note: the addition order of the termination solution should be the same as that of the substrate solution.
8. Read: Immediately measure the optical density (OD) of each well at 450 nm with a microplate reader. The microplate reader should be opened in advance to set up the test procedure.
9. After the experiment, put the unused reagent back in the refrigerator according to the specified storage temperature until the shelf life.
Related Products
CONTACT US
Leave your name and email address, we' ll get back to you soon.
 +86-512-63121818
 +86-13036212819
+86-18018109418 [email protected]
[email protected] No.777, Ganquan West Road, Wujiang district, Suzhou City, Jiangsu Province, China
